Introduction
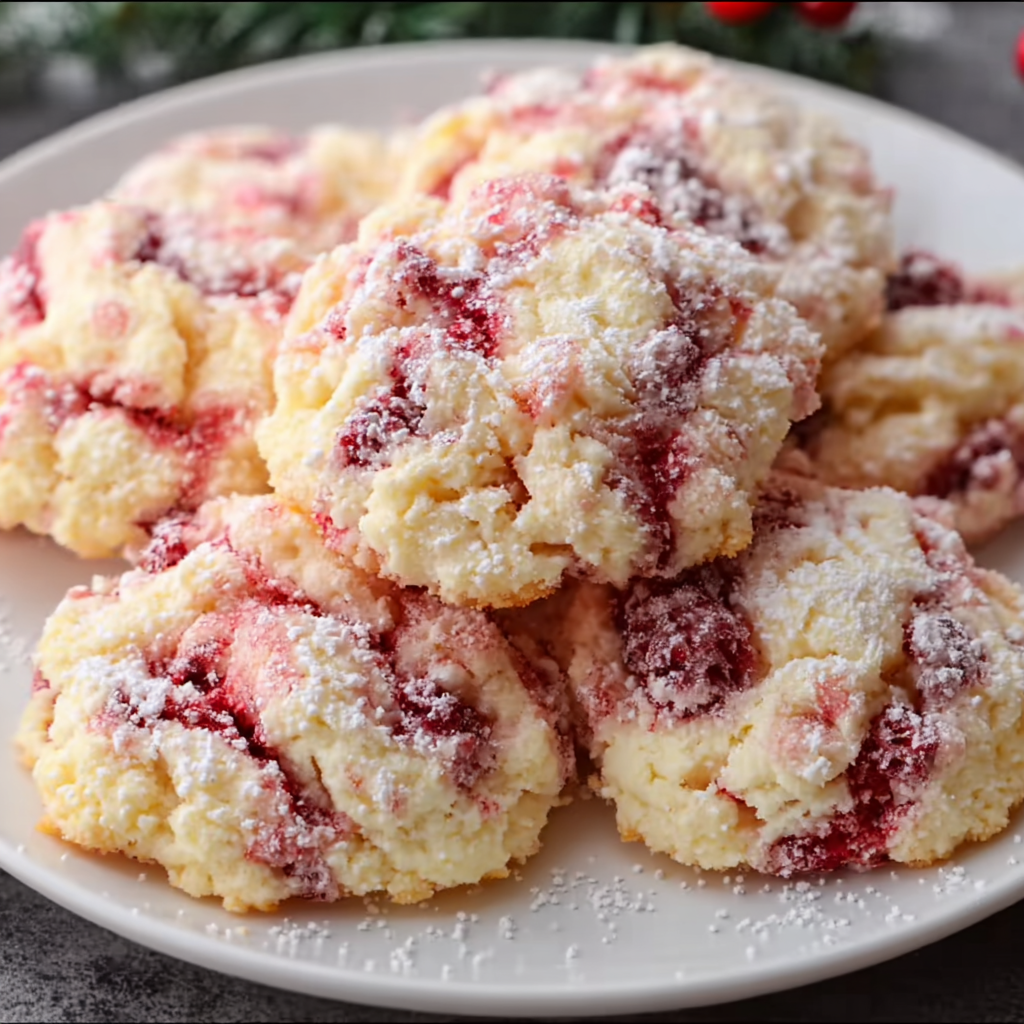
Ultra-Soft Raspberry Christmas Snow Clouds are the kind of holiday cookie that instantly feels magical. Light as air, delicately sweet, and generously dusted with powdered sugar, these cookies look like tiny snowdrifts resting on your holiday dessert table. One bite reveals an incredibly soft, melt-in-your-mouth texture with a gentle burst of raspberry flavor that balances perfectly with the buttery base.
These cookies are inspired by classic snowball and meltaway cookies, but with a festive twist thanks to the fruity raspberry filling or flavoring. They’re elegant enough for Christmas gatherings, yet simple enough to bake on a cozy winter afternoon. Unlike crunchy cookies, snow clouds are meant to be tender and delicate—cookies that dissolve on your tongue and leave behind a light, sweet finish.
Perfect for cookie exchanges, holiday gifting, or simply enjoying with a cup of tea, Ultra-Soft Raspberry Christmas Snow Clouds are destined to become a treasured seasonal tradition in your kitchen.
Print
Ultra-Soft Raspberry Christmas Snow Clouds – Melt-In-Your-Mouth Holiday Cookies
Ingredients
For the Cookies
-
1 cup (226 g) unsalted butter, softened
-
1/2 cup (60 g) powdered sugar
-
1 teaspoon vanilla extract
-
1/2 teaspoon almond extract (optional, enhances raspberry flavor)
-
2 cups (250 g) all-purpose flour
-
1/4 cup (30 g) cornstarch
-
1/4 teaspoon salt
For the Raspberry Center
-
1/2 cup raspberry jam or preserves (seedless preferred)
For Coating
-
1 1/2 cups powdered sugar, for rolling
Instructions
In a large bowl, beat the softened butter and powdered sugar together until pale, fluffy, and creamy. This step is essential for achieving the ultra-soft texture that defines snow cloud cookies.
Mix in the vanilla extract and almond extract. The almond extract subtly enhances the raspberry flavor without overpowering it.
In a separate bowl, whisk together the flour, cornstarch, and salt. Cornstarch is the secret ingredient that gives these cookies their tender, cloud-like crumb.
Gradually add the dry ingredients to the butter mixture, mixing just until a soft dough forms. Do not overmix, as this can make the cookies dense.
Cover and refrigerate the dough for 30–45 minutes. Chilling helps the dough firm up and makes shaping easier.
Scoop about 1 tablespoon of dough and flatten it slightly in your palm. Place 1/2 teaspoon of raspberry jam in the center, then gently wrap the dough around the filling, rolling it into a smooth ball.
Preheat the oven to 350°F (175°C).
Place cookie balls on a parchment-lined baking sheet, spacing them about 2 inches apart.
Bake for 11–13 minutes, until cookies are set but still pale. Do not brown.
Allow cookies to cool on the baking sheet for 5 minutes before transferring to a wire rack.
While cookies are still slightly warm, roll them gently in powdered sugar. Once completely cooled, roll them again for a thick, snowy coating.
Notes
-
Do not overbake; snow clouds must remain pale and soft.
-
Cornstarch is essential for the melt-in-your-mouth texture.
-
Use seedless jam for a smooth filling.
-
Rolling twice in powdered sugar creates the signature snowy look.
Ingredients:
For the Cookies
- 1 cup (226 g) unsalted butter, softened
- 1/2 cup (60 g) powdered sugar
- 1 teaspoon vanilla extract
- 1/2 teaspoon almond extract (optional, enhances raspberry flavor)
- 2 cups (250 g) all-purpose flour
- 1/4 cup (30 g) cornstarch
- 1/4 teaspoon salt
For the Raspberry Center
- 1/2 cup raspberry jam or preserves (seedless preferred)
For Coating
- 1 1/2 cups powdered sugar, for rolling
Preparation
Step 1: Cream Butter and Sugar
In a large bowl, beat the softened butter and powdered sugar together until pale, fluffy, and creamy. This step is essential for achieving the ultra-soft texture that defines snow cloud cookies.
Step 2: Add Flavorings
Mix in the vanilla extract and almond extract. The almond extract subtly enhances the raspberry flavor without overpowering it.
Step 3: Mix Dry Ingredients
In a separate bowl, whisk together the flour, cornstarch, and salt. Cornstarch is the secret ingredient that gives these cookies their tender, cloud-like crumb.
Step 4: Combine Dough
Gradually add the dry ingredients to the butter mixture, mixing just until a soft dough forms. Do not overmix, as this can make the cookies dense.
Step 5: Chill the Dough
Cover and refrigerate the dough for 30–45 minutes. Chilling helps the dough firm up and makes shaping easier.
Step 6: Shape and Fill
Scoop about 1 tablespoon of dough and flatten it slightly in your palm. Place 1/2 teaspoon of raspberry jam in the center, then gently wrap the dough around the filling, rolling it into a smooth ball.
Step 7: Bake
Preheat the oven to 350°F (175°C).
Place cookie balls on a parchment-lined baking sheet, spacing them about 2 inches apart.
Bake for 11–13 minutes, until cookies are set but still pale. Do not brown.
Step 8: Cool Slightly
Allow cookies to cool on the baking sheet for 5 minutes before transferring to a wire rack.
Step 9: Powdered Sugar Coating
While cookies are still slightly warm, roll them gently in powdered sugar. Once completely cooled, roll them again for a thick, snowy coating.
Variation
🎄 1. White Chocolate Raspberry Snow Clouds
Add mini white chocolate chips to the dough for extra sweetness.
❄️ 2. Lemon Raspberry Snow Clouds
Add 1 teaspoon lemon zest to the dough for a bright citrus note.
🍓 3. Strawberry Snow Clouds
Substitute raspberry jam with strawberry preserves.
🌰 4. Nutty Snow Clouds
Mix finely chopped almonds or pecans into the dough for subtle crunch.
🍫 5. Chocolate Raspberry Snow Clouds
Drizzle melted dark chocolate over the finished cookies for contrast.
COOKING Note :
- Do not overbake; snow clouds must remain pale and soft.
- Cornstarch is essential for the melt-in-your-mouth texture.
- Use seedless jam for a smooth filling.
- Rolling twice in powdered sugar creates the signature snowy look.
Serving Suggestions :
- Serve on Christmas cookie platters.
- Pair with hot cocoa, tea, or coffee.
- Package in decorative tins for gifting.
- Use as part of a holiday dessert board.
- Serve alongside shortbread and gingerbread cookies.
Tips :
- Always chill dough before shaping.
- Seal jam filling completely to prevent leaks.
- Roll cookies gently to avoid cracks.
- Store in a single layer to preserve coating.
- Add powdered sugar again just before serving for freshness.
Prep Time:
20 minutes
Cooking Time:
12 minutes
Total Time:
32 minutes (plus chilling)
Nutritional Information :
(Approximate per cookie)
Calories: ~140
Protein: ~1.5 g
Sodium: ~40 mg
FAQs
1. Why are my snow cloud cookies flat?
The dough was likely too warm or not chilled long enough.
2. Can I freeze these cookies?
Yes, freeze uncoated cookies and roll in powdered sugar after thawing.
3. Can I use fresh raspberries?
Jam works best for consistency and moisture control.
4. How long do these cookies stay fresh?
Stored in an airtight container, they stay fresh for 4–5 days.
5. Can I make them ahead for Christmas?
Absolutely—bake them 1–2 days in advance for best texture.
Conclusion
Ultra-Soft Raspberry Christmas Snow Clouds are the ultimate holiday cookie—beautiful, delicate, and irresistibly tender. With their snowy powdered sugar coating and sweet raspberry surprise inside, they capture the magic of Christmas in every bite. Whether you’re baking for loved ones, gifting homemade treats, or simply enjoying the season, these cookies are guaranteed to bring warmth, joy, and a little winter wonder to your table.