Introduction
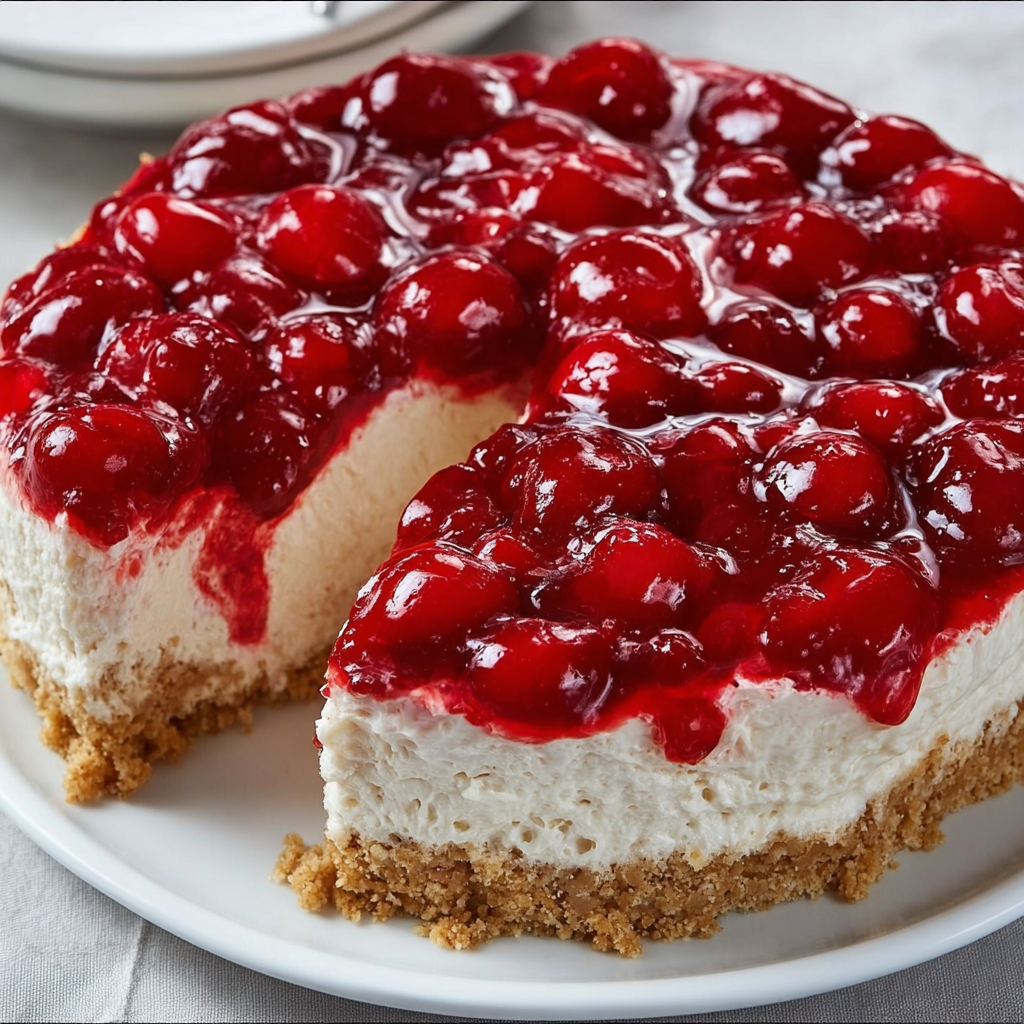
No-Bake Cherry Cheesecake is a timeless dessert that delivers everything people love about cheesecake—creamy texture, rich flavor, and beautiful presentation—without ever turning on the oven. With a buttery graham cracker crust, a smooth cream cheese filling, and a glossy cherry topping, this dessert is as easy as it is irresistible.
This recipe is perfect for warm weather, busy holidays, or anytime you want a stress-free dessert that still feels special. Because it requires no baking, it’s beginner-friendly and nearly foolproof. The filling sets up beautifully in the refrigerator, creating clean slices and a light, mousse-like texture that’s not overly dense.
Whether you’re serving guests, bringing a dessert to a potluck, or making something sweet for your family, No-Bake Cherry Cheesecake is always a hit. It’s make-ahead friendly, visually stunning, and delivers classic flavor in every bite.
Ingredients
For the Graham Cracker Crust
2 cups graham cracker crumbs
½ cup unsalted butter, melted
¼ cup granulated sugar
For the Cheesecake Filling
16 oz cream cheese, softened
1 cup powdered sugar
1 teaspoon vanilla extract
1 ½ cups heavy whipping cream, cold
For the Topping
1 can (21 oz) cherry pie filling
Preparation
Step 1: Prepare the Crust
In a medium bowl, combine graham cracker crumbs, melted butter, and sugar. Mix until evenly moistened. Press the mixture firmly into the bottom of a 9-inch springform pan or pie dish. Refrigerate for at least 20 minutes to set.
Step 2: Make the Cheesecake Base
In a large bowl, beat the softened cream cheese until smooth and creamy with no lumps. Add powdered sugar and vanilla extract, and beat until fully combined and silky.
Step 3: Whip the Cream
In a separate chilled bowl, beat the cold heavy whipping cream until stiff peaks form. This gives the cheesecake its light, airy texture.
Step 4: Combine the Filling
Gently fold the whipped cream into the cream cheese mixture using a spatula. Fold slowly to keep the filling fluffy and smooth.
Step 5: Assemble and Chill
Spread the cheesecake filling evenly over the chilled crust. Smooth the top, then spoon the cherry pie filling evenly over the cheesecake. Cover and refrigerate for at least 4–6 hours, preferably overnight, until fully set.
Variation
Chocolate Cherry Cheesecake: Add a chocolate cookie crust and drizzle chocolate sauce.
Mini Cheesecakes: Assemble in individual cups or jars.
Cherry Almond Cheesecake: Add almond extract and sliced almonds on top.
Sugar-Free Version: Use sugar-free pudding and cherry topping alternatives.
Fresh Cherry Topping: Use homemade cherry compote instead of canned filling.
Cooking Note
Because this is a no-bake cheesecake, chilling time is essential. Rushing the refrigeration step can result in a soft, loose filling. For the cleanest slices, chill overnight.
Serving Suggestions
Serve No-Bake Cherry Cheesecake chilled, topped with extra cherries or a dollop of whipped cream. It pairs beautifully with coffee, tea, or sparkling drinks and works perfectly for birthdays, holidays, BBQs, and family dinners.
Tips
Use full-fat cream cheese for best texture.
Make sure cream cheese is fully softened before mixing.
Chill the mixing bowl and beaters for whipping cream.
Press the crust firmly to prevent crumbling.
Slice with a clean, warm knife for neat servings.
Prep Time
20 minutes
Cooking Time
0 minutes
Total Time
6 hours 20 minutes (including chilling)
Nutritional Information (Approximate per slice)
Calories: 420
Protein: 6 g
Sodium: 260 mg
FAQs
Can I make this cheesecake ahead of time?
Yes, it’s best made 1 day in advance for perfect texture.
Can I freeze no-bake cheesecake?
Yes, freeze without the cherry topping and add it after thawing.
Why is my cheesecake too soft?
It likely needs more chilling time or the whipped cream wasn’t stiff enough.
Can I use a store-bought crust?
Absolutely—this saves time and works perfectly.
Can I use homemade cherry topping?
Yes, homemade cherry compote is a delicious upgrade.
Conclusion
No-Bake Cherry Cheesecake is a classic dessert that proves simple can be spectacular. With its creamy filling, buttery crust, and sweet cherry topping, it delivers comfort, elegance, and ease all in one dish. Perfect for any occasion and loved by all ages, this recipe deserves a permanent place in your dessert collection. One slice is never enough 🍒🍰
Print
No-Bake Cherry Cheesecake – Creamy Classic Dessert with Cherry Topping
Ingredients
For the Graham Cracker Crust
-
2 cups graham cracker crumbs
-
½ cup unsalted butter, melted
-
¼ cup granulated sugar
For the Cheesecake Filling
-
16 oz cream cheese, softened
-
1 cup powdered sugar
-
1 teaspoon vanilla extract
-
1 ½ cups heavy whipping cream, cold
For the Topping
-
1 can (21 oz) cherry pie filling
Instructions
In a medium bowl, combine graham cracker crumbs, melted butter, and sugar. Mix until evenly moistened. Press the mixture firmly into the bottom of a 9-inch springform pan or pie dish. Refrigerate for at least 20 minutes to set.
In a large bowl, beat the softened cream cheese until smooth and creamy with no lumps. Add powdered sugar and vanilla extract, and beat until fully combined and silky.
In a separate chilled bowl, beat the cold heavy whipping cream until stiff peaks form. This gives the cheesecake its light, airy texture.
Gently fold the whipped cream into the cream cheese mixture using a spatula. Fold slowly to keep the filling fluffy and smooth.
Spread the cheesecake filling evenly over the chilled crust. Smooth the top, then spoon the cherry pie filling evenly over the cheesecake. Cover and refrigerate for at least 4–6 hours, preferably overnight, until fully set.
Notes
Because this is a no-bake cheesecake, chilling time is essential. Rushing the refrigeration step can result in a soft, loose filling. For the cleanest slices, chill overnight.