
Table of Contents
There’s something deeply satisfying about cracking open a jar of pickles you made yourself. The sharp tang, the snap of a perfect crunch, the whiff of garlic and dill that hits you right in the memory. This is more than a recipe—it’s rebellion against limp, store-bought pickles floating in god-knows-what.
The first time I made homemade dill pickles, it was out of pure spite. I’d just paid $7 for a fancy jar that promised “artisanal flavor” and delivered soggy disappointment. I stormed into my kitchen with a bag of Kirby cucumbers and an attitude, determined to do better. What came out was a revelation: crisp, cold spears soaking in a brine so vivid it made my eyes water—in the best way.
This recipe is stripped down to essentials. It doesn’t bother with fluff. You don’t need a canner, and you don’t need a science degree. Just fresh cucumbers, some pantry staples, and the patience to wait a few days while magic happens in a jar. It’s old-school simplicity with punk-rock flavor.
So whether you’re a first-timer or a fridge-pickle vet, this is the dill pickle recipe you’ll come back to. Because sometimes, the best things are the ones you make yourself—with a little salt, vinegar, and attitude.
Why You’ll Love This Recipe
- Super Crisp Texture: Say goodbye to soggy, store-bought pickles.
- Easy Process: No canning required—just a simple fridge method.
- Customizable Brine: Tweak the flavors to match your palate.
- Quick Turnaround: Ready to eat in just 24–48 hours.
- Budget-Friendly: Make a whole jar for less than a grocery-store brand.
- Flavor Bomb: Classic dill, garlic, and spice blend that hits every note.
Ingredients
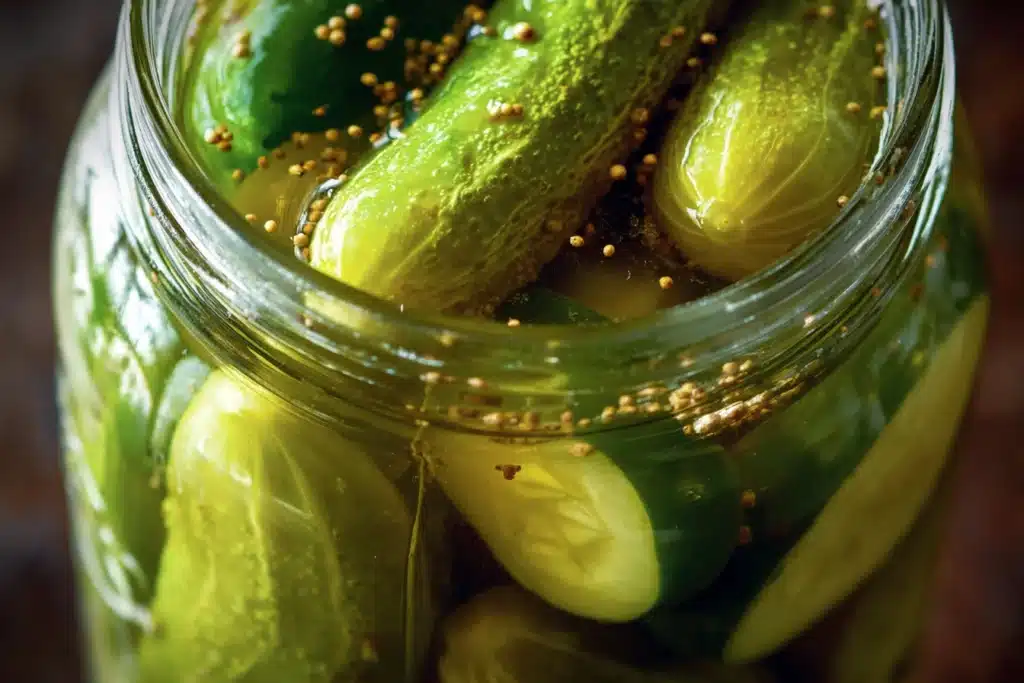
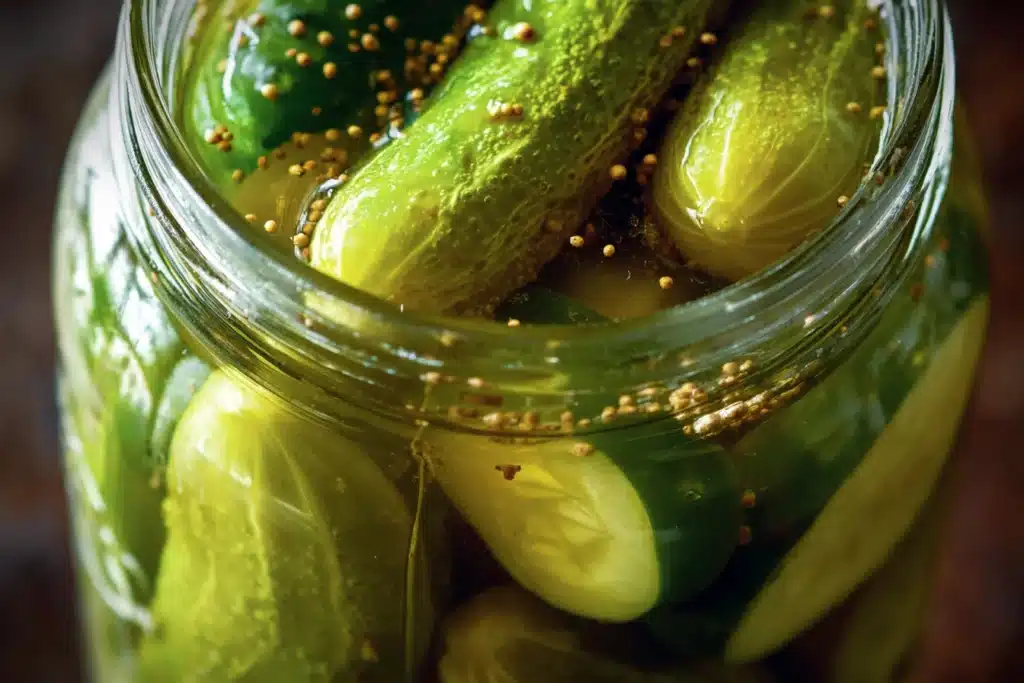
- 6–8 small Kirby cucumbers (about 1.5 lbs)
- 1 1/2 cups white vinegar (5% acidity)
- 1 1/2 cups water
- 2 tablespoons kosher salt
- 1 tablespoon sugar
- 4 cloves garlic, smashed
- 1 tablespoon black peppercorns
- 1 teaspoon mustard seeds
- 1/2 teaspoon red pepper flakes (optional)
- 4–6 sprigs fresh dill
Instructions
- Prep the Cucumbers: Wash cucumbers and slice into spears or coins.
- Sterilize the Jar: Rinse a 1-quart mason jar with hot water.
- Make the Brine: In a saucepan, combine vinegar, water, salt, and sugar. Bring to a boil until salt and sugar dissolve. Cool slightly.
- Pack the Jar: Layer cucumbers, garlic, dill, and spices into the jar.
- Pour the Brine: Fill the jar with warm (not hot) brine, covering the cucumbers completely.
- Seal and Refrigerate: Tighten lid and refrigerate for at least 24 hours. Best after 2–3 days.
Tips & Variations
- Use Kirby or Persian cucumbers for best crunch.
- Cut off the blossom end to avoid mushy pickles.
- Spice It Up: Add jalapeños or horseradish for heat.
- Sweet Twist: Add extra sugar for a bread-and-butter vibe.
- Herb Swap: Try tarragon or coriander seeds for unique flavors.
Note
Avoid iodized salt—it can cloud the brine and mess with the texture. Kosher salt is your best friend here.
Serving Suggestions
- Sidekick: Serve alongside sandwiches, burgers, or BBQ.
- Charcuterie Star: Add to meat and cheese boards.
- Salad Crunch: Chop into potato or tuna salads.
- Bloody Mary Garnish: Spear one right onto your glass.
- Snack Straight: Eat cold, right from the jar—no shame.
Nutrition Information
(Per spear, approx.)
- Calories: 5
- Carbs: 1g
- Fat: 0g
- Protein: 0g
- Sodium: 300mg
- Sugar: 0.5g
- Fiber: 0.3g
User Reviews/Comments
Tina, NY: “These were better than anything I’ve ever bought. Super crunchy!”
Paul, IL: “First batch disappeared in two days. Making double next time.”
Sasha, FL: “Loved adding jalapeños—gave them a great kick.”
FAQs
Do I need to use a specific type of cucumber? Yes. Stick with Kirby or Persian cucumbers. They’re firm and made for pickling. Big slicing cukes tend to get soft.
How long do homemade dill pickles last? Stored in the fridge, they last up to 2 months. The flavor intensifies over time, but texture may soften after 4 weeks.
Can I reuse the brine? Not recommended for fresh pickling. But you can use it to marinate onions or flavor salad dressings.
Is it safe to skip the boiling step? You can mix cold, but boiling helps dissolve salt and sugar evenly—and gives you a more balanced brine.
How do I keep them extra crunchy? Cut off the blossom end and don’t over-soak. Some swear by grape leaves for tannins, but it’s optional.
Can I add other vegetables? Absolutely. Try carrots, green beans, or even cauliflower in the same brine.

Conclusion
Homemade dill pickles aren’t just better—they’re a statement. A jar of rebellion sitting in your fridge, daring store-bought mediocrity to come at you. Every spear is a punch of flavor, a snap of fresh, and proof that yes, you can make something this good on your own.
Plus, once you nail this recipe, you’ve unlocked the gateway to pickling damn near anything. There’s a whole world of briny beauty out there. For more history and context, explore the Wikipedia page on Pickling. Pick up that knife, grab a jar, and join the pickle revolution.
Print
Crunchy Homemade Dill Pickles Recipe You’ll Love
Ingredients
- 6–8 small Kirby cucumbers (about 1.5 lbs)
- 1 1/2 cups white vinegar (5% acidity)
- 1 1/2 cups water
- 2 tablespoons kosher salt
- 1 tablespoon sugar
- 4 cloves garlic, smashed
- 1 tablespoon black peppercorns
- 1 teaspoon mustard seeds
- 1/2 teaspoon red pepper flakes (optional)
- 4–6 sprigs fresh dill
Instructions
- Prep the Cucumbers: Wash cucumbers and slice into spears or coins.
- Sterilize the Jar: Rinse a 1-quart mason jar with hot water.
- Make the Brine: In a saucepan, combine vinegar, water, salt, and sugar. Bring to a boil until salt and sugar dissolve. Cool slightly.
- Pack the Jar: Layer cucumbers, garlic, dill, and spices into the jar.
- Pour the Brine: Fill the jar with warm (not hot) brine, covering the cucumbers completely.
- Seal and Refrigerate: Tighten lid and refrigerate for at least 24 hours. Best after 2–3 days.
Notes
Avoid iodized salt—it can cloud the brine and mess with the texture. Kosher salt is your best friend here.