
Table of Contents
Introduction
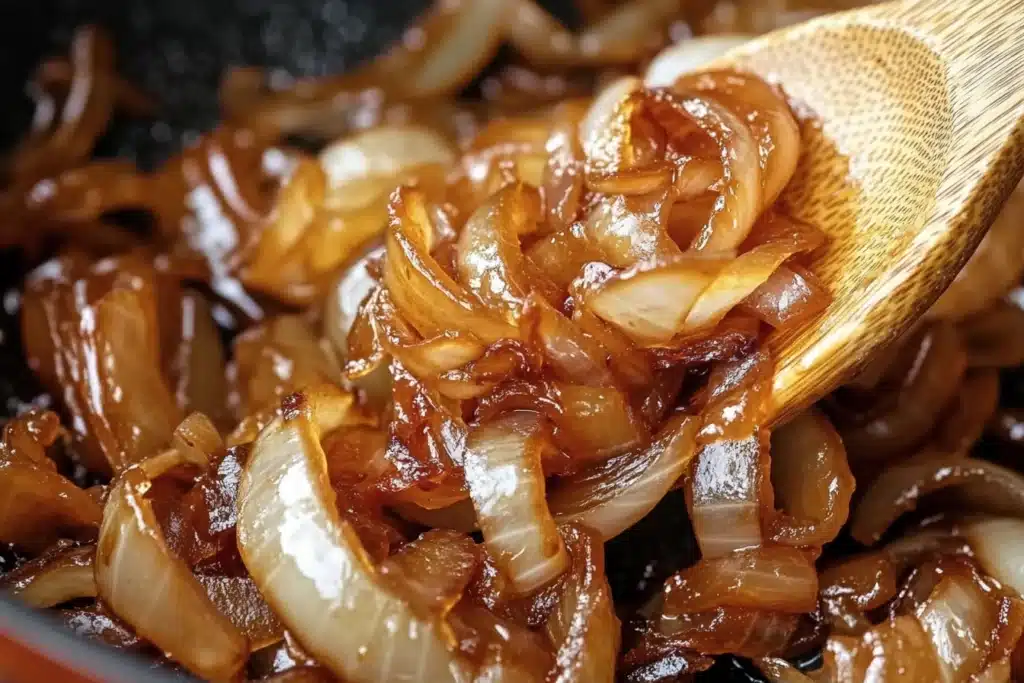
Caramelized onions are like culinary gold. You start with something sharp, raw, and pungent, and transform it—through time, patience, and a little fat—into something rich, sweet, and savory. They’re not flashy. No one ever starts a meal saying, “Man, I can’t wait for the onions.” But when done right, they steal the damn show. You’ll find them tucked into grilled cheese sandwiches, layered over juicy burgers, stirred into pasta, or just piled high on toasted bread with a smear of goat cheese.
But here’s the deal: most people rush the process. They turn the heat up too high. They dump sugar in. They don’t give the onions room to breathe. And they end up with fried onions or burned ones—not the soft, dark brown ribbons of flavor that true caramelization gives you. This guide will walk you through the real deal—the old-school, slow-cooked method that takes a bit of time but rewards you with deep, soul-hugging flavor.
So grab a pan, a few onions, and maybe a stiff drink. Let’s do this the right way. Once you master caramelized onions, there’s no going back. You’ll never settle for those sad, half-cooked messes again.
Why You’ll Love This Recipe
- Deep flavor: Rich, sweet, umami-packed onions that elevate any dish.
- Simple ingredients: Just onions, oil or butter, and salt.
- Versatile use: Great for burgers, sandwiches, pastas, and more.
- Budget-friendly: One of the cheapest ways to add gourmet flavor.
- Therapeutic cooking: Low and slow—meditative and satisfying.
Ingredients
- 4 large yellow onions (sweet or white onions work too)
- 2 tablespoons olive oil or unsalted butter (or a mix of both)
- Pinch of kosher salt
- Optional: splash of balsamic vinegar, beef broth, or wine for deglazing
Instructions/Method
- Prep the onions: Peel and slice onions into thin, even slices—about 1/8 inch thick. Try to keep them uniform for even cooking.
- Heat your pan: Use a wide, heavy-bottomed skillet—cast iron or stainless steel is ideal. Heat oil or butter over medium heat.
- Add onions: Toss in the sliced onions and stir to coat with fat. Add a pinch of salt to help draw out moisture.
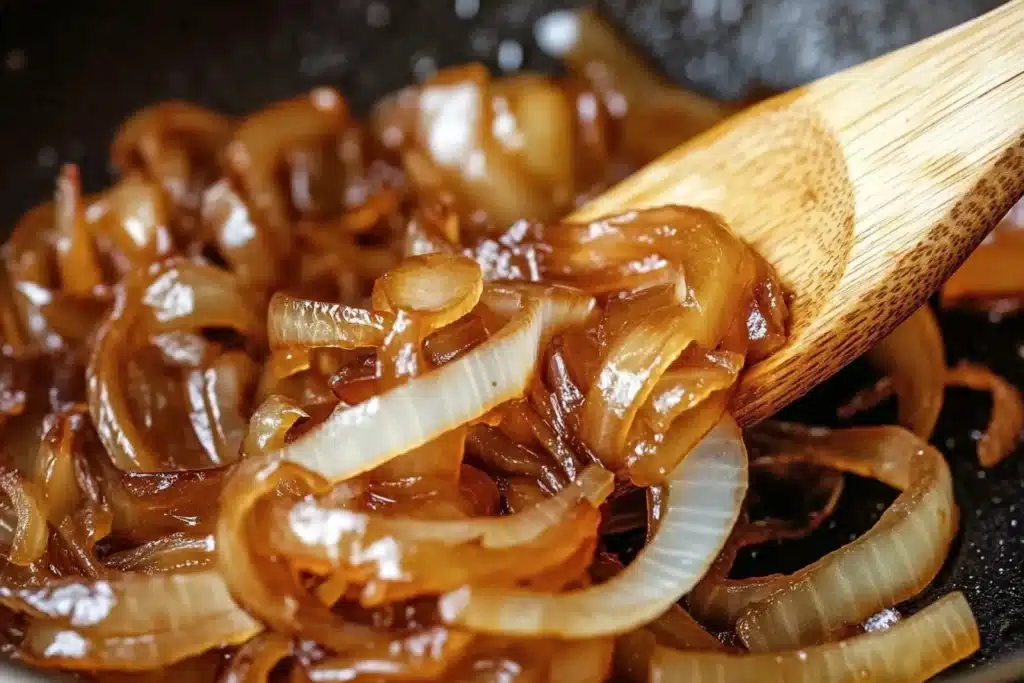
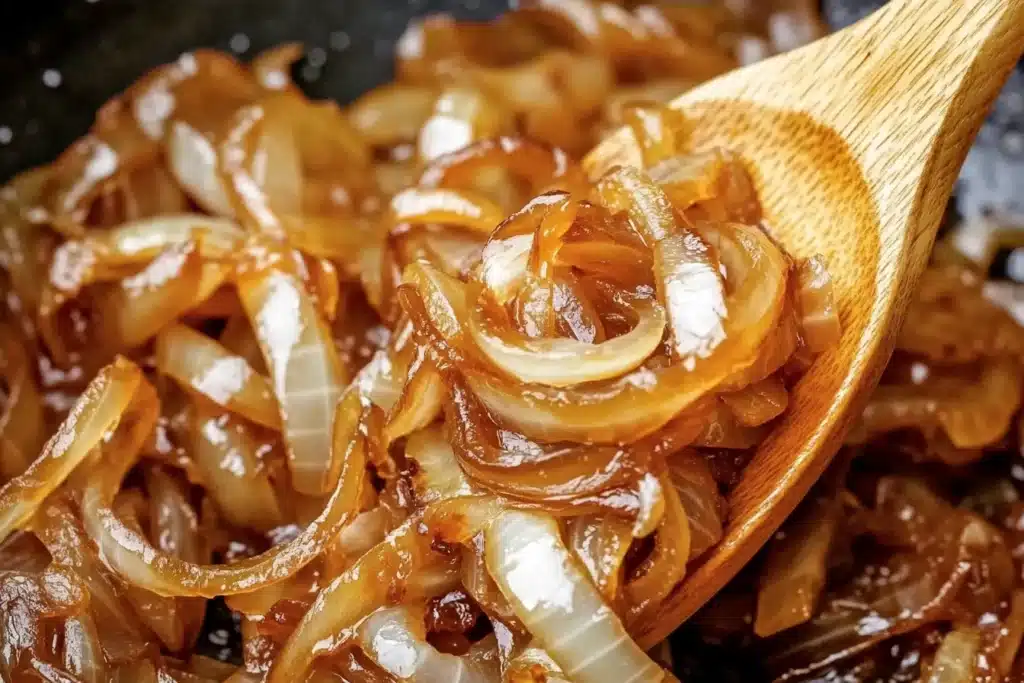
- Cook low and slow: Reduce heat to medium-low. Stir every 5–10 minutes. Don’t rush. Let them sweat, soften, and slowly turn golden.
- Scrape and stir: Brown bits will form on the bottom of the pan. Use a wooden spoon to scrape them up and mix into the onions. This adds flavor.
- Deglaze if needed: If the onions start sticking too much, splash in a bit of water, broth, or vinegar to loosen the brown bits.
- Keep going: After 30 minutes, they’ll be golden. After 45, a rich brown. For ultimate flavor, aim for 60 minutes.
- Finish: Taste and adjust salt. Optionally stir in a splash of balsamic for a tangy kick.
Tips & Variations
- Use a mix of butter and oil for the best flavor and texture.
- Don’t overcrowd the pan. Too many onions at once can steam instead of caramelize.
- Stir occasionally, not constantly. Let them sit to develop browning.
- Try red onions for a deeper sweetness or shallots for something fancier.
- Add herbs like thyme or rosemary for a unique twist.
Note
Avoid using high heat—it’ll fry the onions, not caramelize them. Also, don’t walk away for too long; burning is one step away from perfection.
Serving Suggestions
- Spread on toasted sourdough with goat cheese
- Layer into grilled cheese sandwiches
- Top burgers, steaks, or grilled sausages
- Stir into pasta with cream or tomato sauce
- Mix into mashed potatoes for an upgrade
- Add to pizzas, quiches, or savory tarts
Nutrition Information
Per serving (based on 1/4 batch):
- Calories: 120
- Fat: 7g
- Saturated Fat: 3g
- Carbohydrates: 14g
- Sugar: 6g
- Fiber: 2g
- Protein: 1g
- Sodium: 150mg
User Reviews/Comments
Samantha T. – “I followed this to the letter and OMG—they came out perfect. Took me about 50 minutes, but so worth it.”
Jorge M. – “Tried it with red onions and a splash of red wine vinegar. Killer flavor. This method is legit.”
Carmen R. – “Didn’t know what I was missing until I tried this. My grilled cheese will never be the same.”
FAQs
How long does it really take to caramelize onions? True caramelization takes time—at least 45 minutes, usually closer to an hour. Don’t believe any recipe that promises it in 15 or 20. That’s just sautéed onions, not the deep, sweet stuff you’re after here.
Can I freeze caramelized onions? Absolutely. Let them cool, portion them into small containers or ice cube trays, and freeze. They reheat beautifully and add instant flavor to any dish.
Do I need to add sugar? Nope. Onions have plenty of natural sugars. If you cook them slowly, they’ll caramelize on their own. Adding sugar can make them taste artificial.
What type of onions are best? Yellow onions are classic, but sweet onions work well too. Red onions add a bold twist, and shallots can give a gourmet edge.
Why are my onions burning? Your heat is too high or you’re not stirring enough. Turn it down, stir more often, and maybe deglaze with a splash of liquid if needed.
Conclusion
There’s something almost magical about the way caramelized onions develop over time. They take patience, yes. But like a good story or a slow-cooked stew, the reward is always worth it. Once you’ve mastered them, you’ll find yourself looking for excuses to add them to everything—from eggs to sandwiches to grain bowls.
And if you’re into food history, it’s worth noting that the transformation of onions through heat has been part of cuisines for centuries. According to Wikipedia, caramelization is a form of non-enzymatic browning that’s been used since ancient times to unlock flavor.
So go ahead—grab a pan and some onions. Cook them down into that deep, jammy gold. You’ll be surprised at how something so simple can feel so luxurious. And once you’ve done it the right way, you’ll never turn back.
Print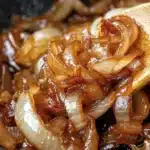
How to Make Perfect Caramelized Onions Every Time
Ingredients
- 4 large yellow onions (sweet or white onions work too)
- 2 tablespoons olive oil or unsalted butter (or a mix of both)
- Pinch of kosher salt
- Optional: splash of balsamic vinegar, beef broth, or wine for deglazing
Instructions
- Prep the onions: Peel and slice onions into thin, even slices—about 1/8 inch thick. Try to keep them uniform for even cooking.
- Heat your pan: Use a wide, heavy-bottomed skillet—cast iron or stainless steel is ideal. Heat oil or butter over medium heat.
- Add onions: Toss in the sliced onions and stir to coat with fat. Add a pinch of salt to help draw out moisture.
- Cook low and slow: Reduce heat to medium-low. Stir every 5–10 minutes. Don’t rush. Let them sweat, soften, and slowly turn golden.
- Scrape and stir: Brown bits will form on the bottom of the pan. Use a wooden spoon to scrape them up and mix into the onions. This adds flavor.
- Deglaze if needed: If the onions start sticking too much, splash in a bit of water, broth, or vinegar to loosen the brown bits.
- Keep going: After 30 minutes, they’ll be golden. After 45, a rich brown. For ultimate flavor, aim for 60 minutes.
- Finish: Taste and adjust salt. Optionally stir in a splash of balsamic for a tangy kick
Notes
- Use a mix of butter and oil for the best flavor and texture.
- Don’t overcrowd the pan. Too many onions at once can steam instead of caramelize.
- Stir occasionally, not constantly. Let them sit to develop browning.
- Try red onions for a deeper sweetness or shallots for something fancier.
- Add herbs like thyme or rosemary for a unique twist.